My first metal clay pieces
I could continue making samples forever but the truth is I wanted to see how this stuff works!
So yesterday, I finished my first metal clay pieces and the whole process was so exciting, like magic!
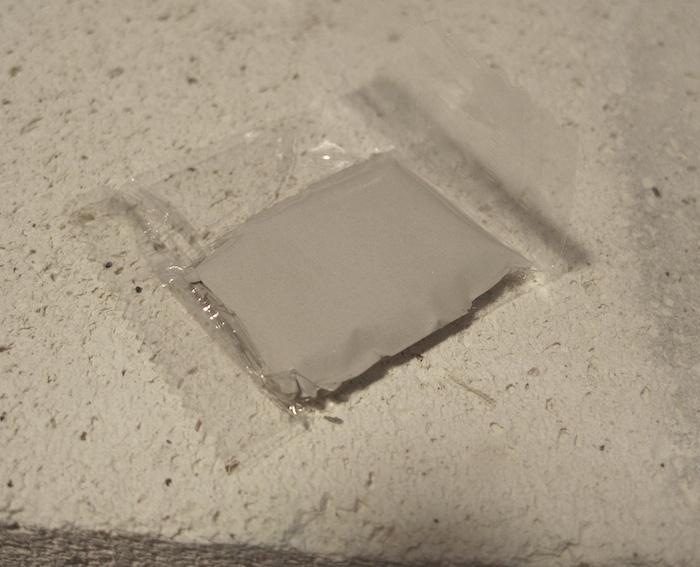
This is how the product looked, when I got it out of the package: 10g of pure silver in clay form.
I didn’t have all the tools that are available but it’s easy to improvise with whatever there is around the house. I used a transparency sheet as a work surface and a small amount of olive oil on it so that the clay won’t stick. I rolled the clay between playing cards using a marker pen as my roller.
It’s very important to have already decided what you ‘re going to do because the clay dries fast and gets difficult to work with. Again, olive oil was applied on my hands and on the materials that were in contact with the clay.
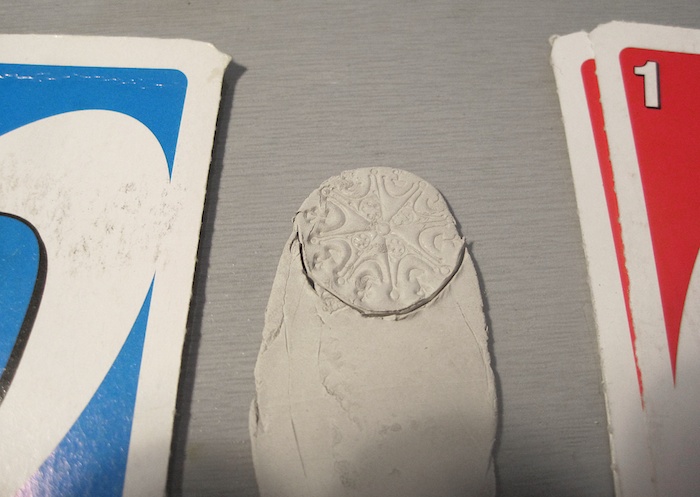
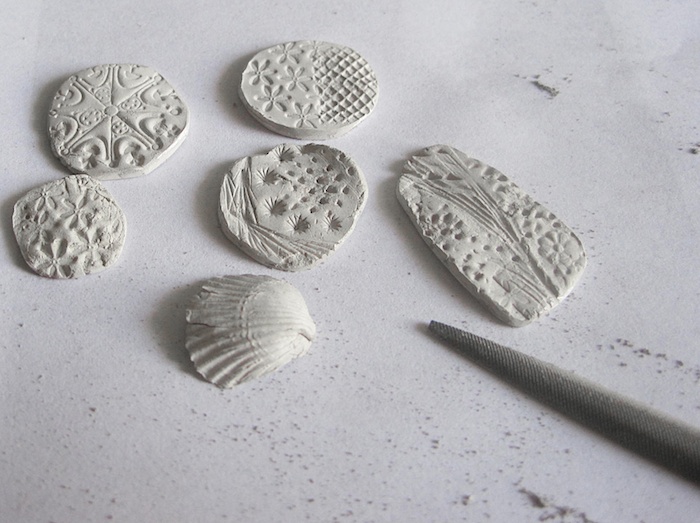
I made these little pieces, according to the samples that I had created the previous day. After completing the first three pieces, the clay had started drying. I had to move fast and decided not to make the flowers that I had in mind but would also take more time. I used all the remaining clay to imprint more textures.
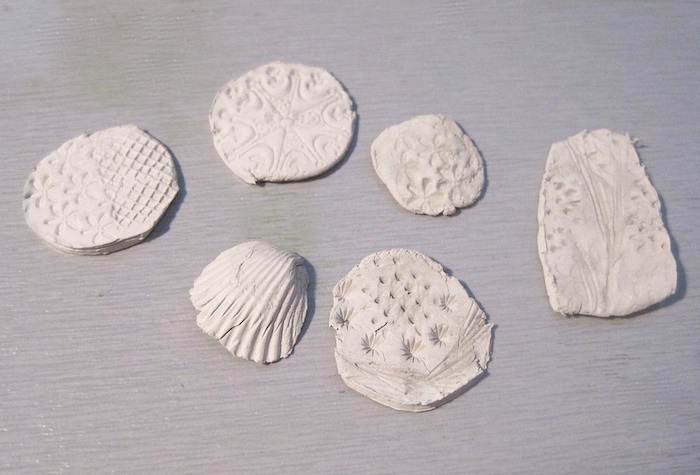
Then I left the pieces for a few hours, to dry completely. I didn’t use a hairdryer or the oven to speed up the process.
When they looked completely dry, I smoothed the edges and the back side with a file. The filings were saved on a piece of paper. If I save more, I could make my own paste. This video from Art Jewelry Magazine shows how to do it.
They are now ready to be fired. This video shows the firing of my first metal clay piece. It was hard to film and torch at the same time, I will ask for help the next time!
Torch Firing Metal Clay from Maria Apostolou on Vimeo.
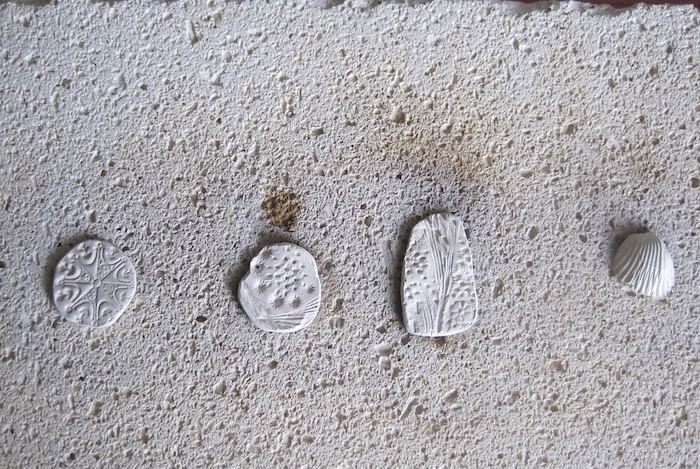
More pieces on the firebrick, just after the firing is completed. They are white and need to brushed with a brass brush.
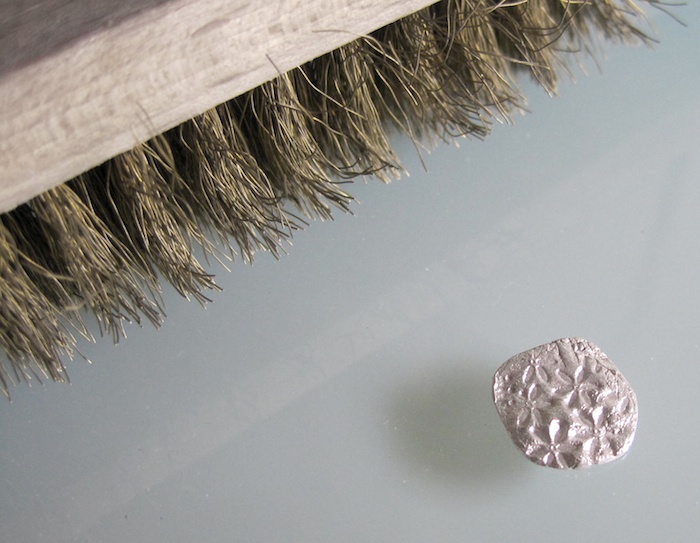
One of the pieces after being brushed:
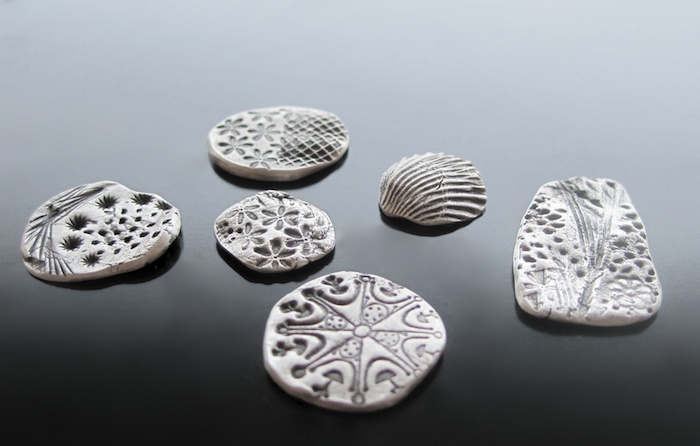
All the pieces before and after the patina has been applied:
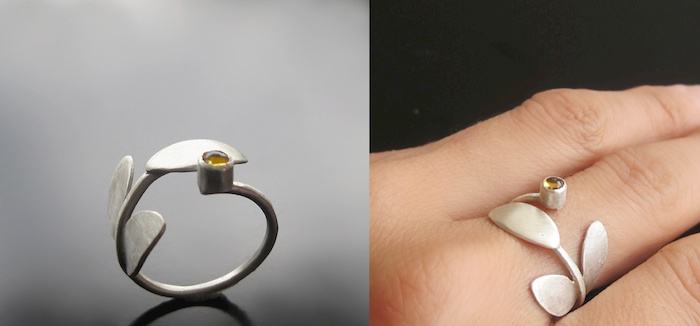
I like the organic look that they have! Now I’m ready to make pendants, earrings, rings or whatever. I think I will make some simple pendants with this first bunch.
Links to videos that I found very helpful:
- Torch firing metal clay with Jill Erickson from Art Jewelry Magazine.
- Tim McCreight’s video on how to fire metal clay.
- How to make metal clay earrings. with Mark Nelson from Rio Grande.