I have done some etching on copper and silver in the past, using a sharpie pen as a resist. But etching with Press-n-Peel Blue is a different story and today I thought I’d give it a go!
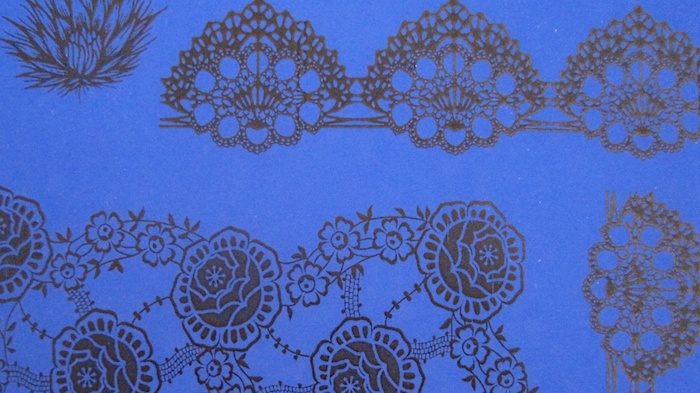
First, the chosen images were printed using a photocopy machine. You can also use a laser printer but not an inkjet printer. This paper won’t work if it’s not printed on a toner-based appliance.
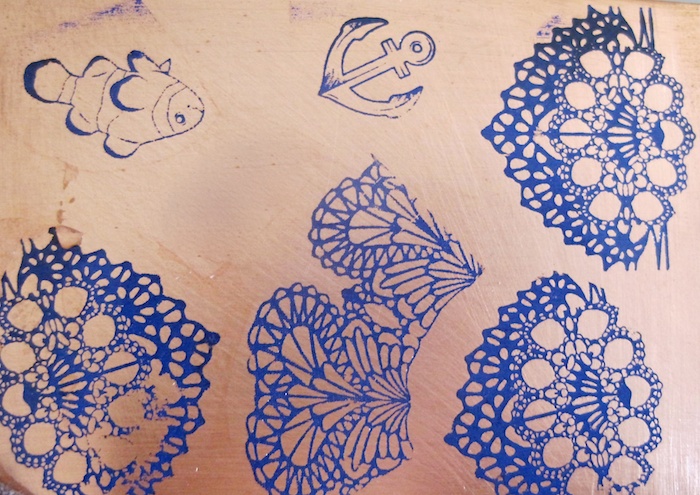
The most difficult part is the ironing and transfer of the design on a clean piece of metal. You have to get the temperature of the iron right and that requires a little bit of trial and error at first. After a couple attempts, I was satisfied with the result and metal was ready for the etching solution.
When etching, I prefer to adhere the metal on a piece of foam using double-sided tape and then suspend it in the ferric chloride solution. This way, it’s easy to lift it regularly and check on the progress.
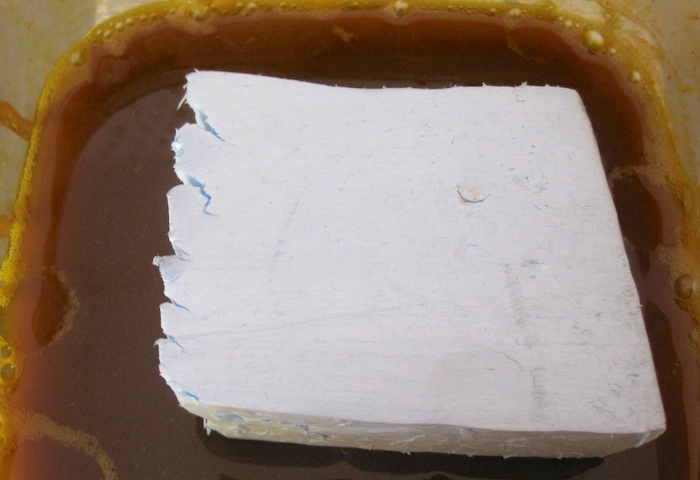
I left it in the acid for almost 50 minutes, checking every 15 minutes or so and agitating the solution.
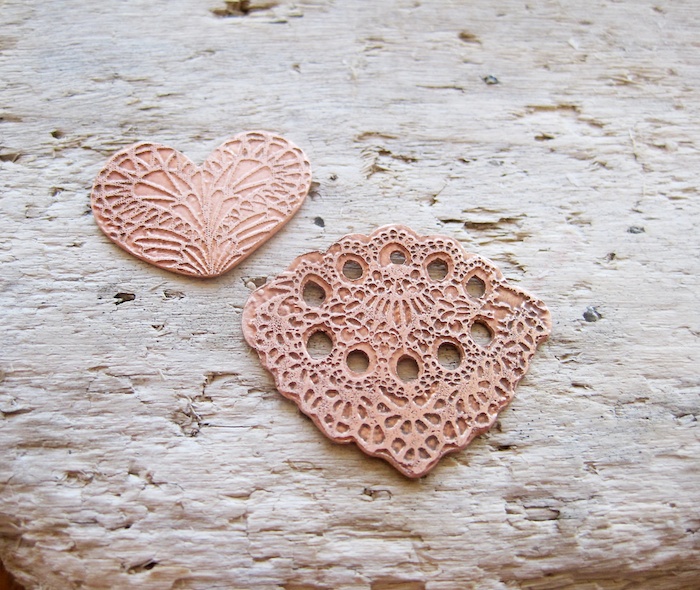
Here’s how it looked after cleaning the copper and neutralizing the acid with baking soda:
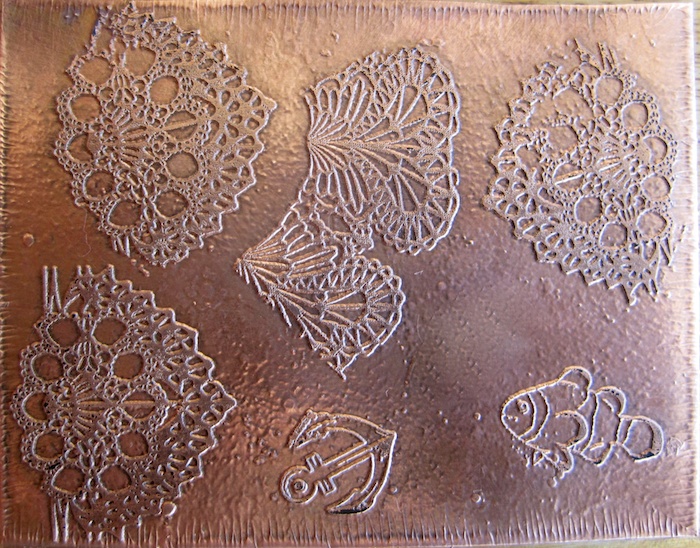
I was very happy with the result and the fine details that can be achieved. I also loved this lace texture and soon I’ll be making jewelry which will incorporate it.

Thanks for reading!