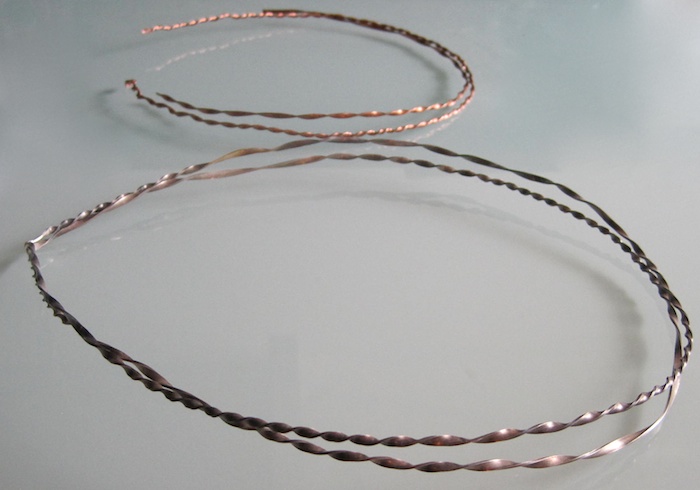
I decided to take a break from the making and rest for a couple of days… but it turns out that I couldn’t. So Saturday afternoon I started working on a pair of wedding crowns for a friend who’s getting married.
My friend wanted them made with twisted sterling silver wire and adorned with white crystals.
I had never made crowns before or worked with such long wire. To estimate how much I would need, first I made a few twisted wire samples in copper.
Then I grabbed a piece of thick, round, sterling silver, which I had to anneal several times and pass it through the rolling mill to get the desired length and width.
I needed a 58 cm length of twisted wire for each crown. To twist the wire, I secured one end in a dremel and held the other end with pliers. You’ll need another person (or a vise for that matter) to hold the pliers as you switch on the dermal. Having the wire twisted uniformly was a challenge. The wire was too long and inevitably some parts were twisted more than others.
In the end I was quite happy with the result. ….Let’s hope that my friend is happy as well!
The crowns were then soldered and cleaned. Cleaning the twisted wire was another challenge. First I used a brass brush but then I found that steel wool under running water worked better.
Last I added the crystals by threading them in 28g sterling silver wire and wrapping around the base of the crown. The first crown is now ready, just finished it this morning.
Due to a miscalculation, I didn’t realize that I didn’t have enough thin silver wire to last for the second crown. So this week I’ll go buy more and then we’ll choose a ribbon to tie both crowns together.
Despite the challenges and the minor setbacks, I enjoyed this project and I think that the process also taught me a lot. It felt so different to work on a much larger scale and many adjustments had to be made.
I hope that soon I’ll show you both of them finished!
Thanks for reading!
