These days I’m making a second set of resin jewelry for Benaki Museum. Though I’ve posted process pics before I haven’t talked much about the process of making the actual pieces. I thought I’d share a few steps of the making process.
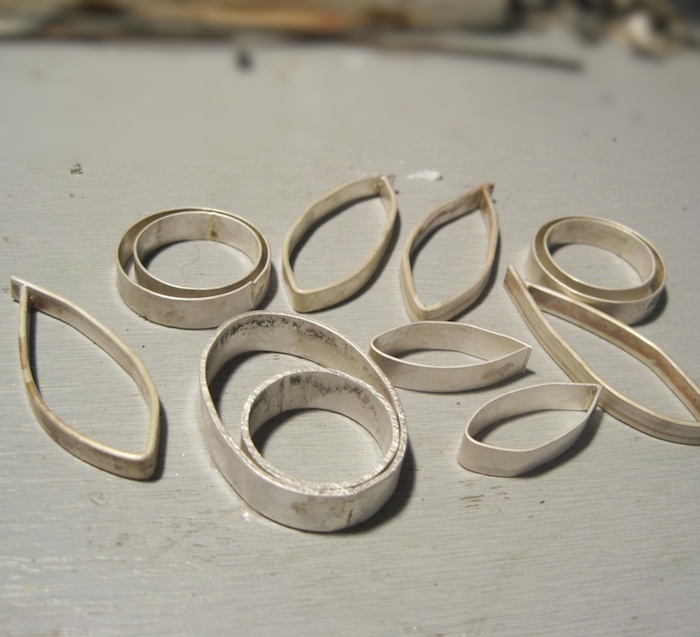
After sketching and deciding on the designs, I make the silver frames, which will hold the resin. The frames need to be cleaned and sanded so that they’re completely flat.
I place all the pieces on a flat plastic surface and add plasticine around each one of them. The plasticine acts as a barrier so that there won’t be any resin leaks.
Then I mix the resin with a catalyst, which will harden it. I add tiny amounts of translucent pigments until I’m satisfied with the colors. I pour the resin inside the frames and then I have to be patient….the resin needs 24 hours to cure. In the picture above you can see that the colors have overspilled. I do this on purpose because this type of resin shrinks while it cures. To account for the shrinkage, it’s better to add more resin and clean the excess afterwards.
Color experiment: mixing resin with an eye-shadow!
After the curing process is completed the surface is tacky and needs to be sanded. I start with 320 grit sandpaper or even more coarse and then move on to 600, 1000, 2000.
Then it’s time for the final polishing, which will bring up the translucence of the colors. I do this with vonax, which is a compound suitable for plastics.
It’s a tedious process and many things can go wrong along the way. You can’t learn unless you make mistakes but in the end I think it’s worth the effort!
These earrings and the house ring are almost ready. But the colors of the oval and rectangle rings turned out a lot darker and I needed to work on them again. I must have added more pigment than I should have…..lesson learned for next time!
Thanks for reading!
