This past weekend I experimented with an idea for a new “house” ring. I will reveal more details about this project when it’s the right time but for now I wanted to share the steps of the etching process.
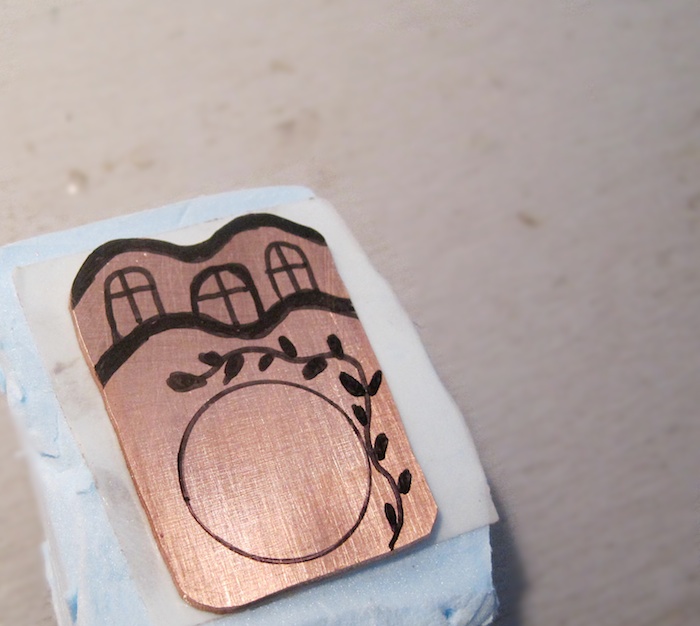
I made a few sketches and then drew the design on copper with a black permanent marker. Here, the copper is mounted on a piece of foam, using double sided tape.
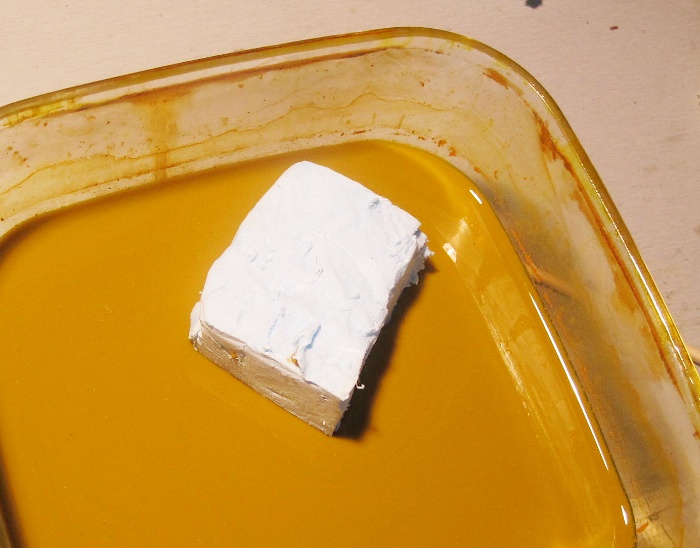
Then I suspended it in the etching solution, which even though it is really old, still seems to work fine. I left it there for about 30-45 minutes.
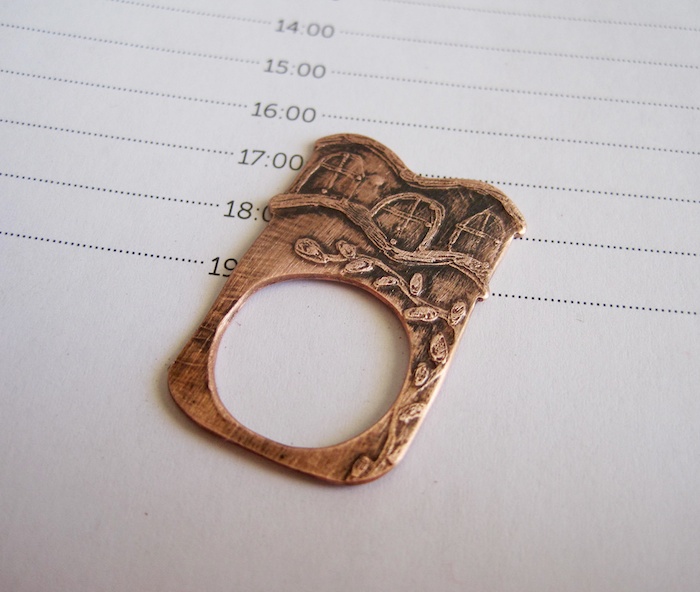
This is how the ring looked after the etching and the application of the oxidizing patina. I sawed away the ring circle, then filed and sanded the edges.
Next, I decided to make another piece, using the same design, only the raised areas would now be recessed. I didn’t have stop-out varnish to protect the metal from the etching solution and I used what was available: a red permanent marker. The design was “scratched” with a scriber.
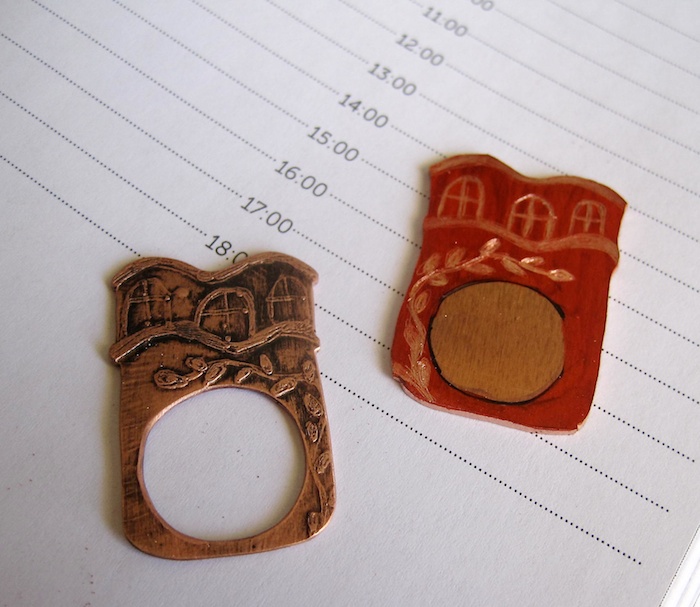
Contrary to what I thought, the etching worked just fine. I soldered the two pieces together and at this moment the ring is waiting patiently on my bench to finish it.
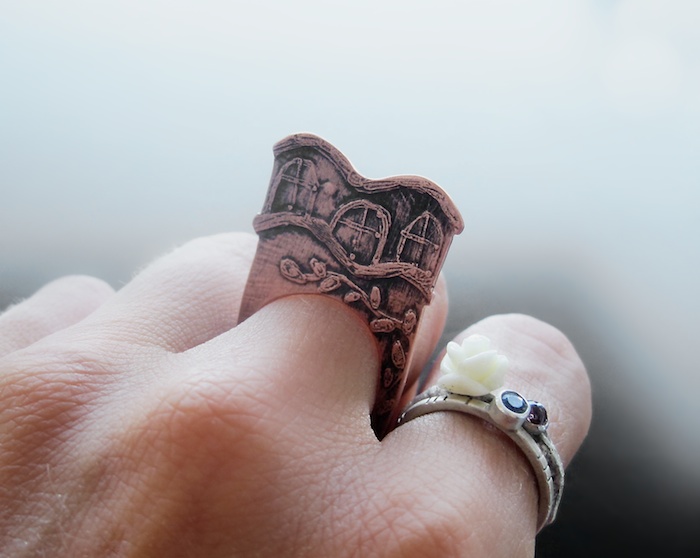
Until that happens, here are a few more pics of the first layer, which qualifies as this week’s Ring-a-Week, don’t you think?
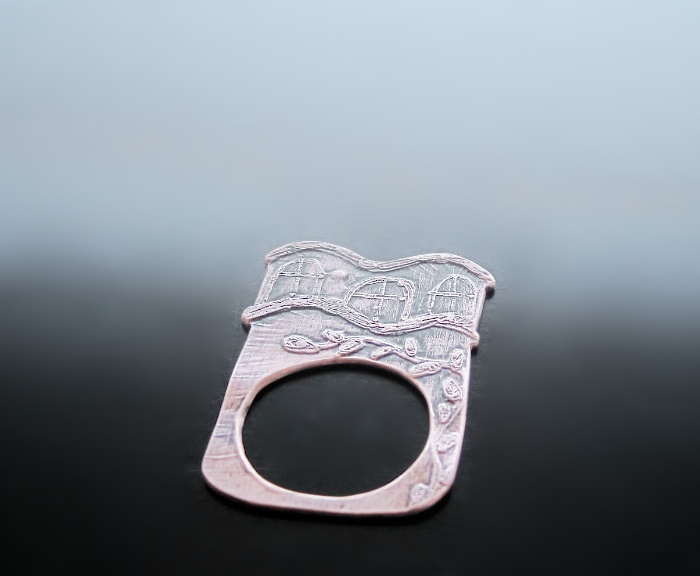
Ring-a-Week, #31 Etched house ring – work in progress
Thanks for reading!


